

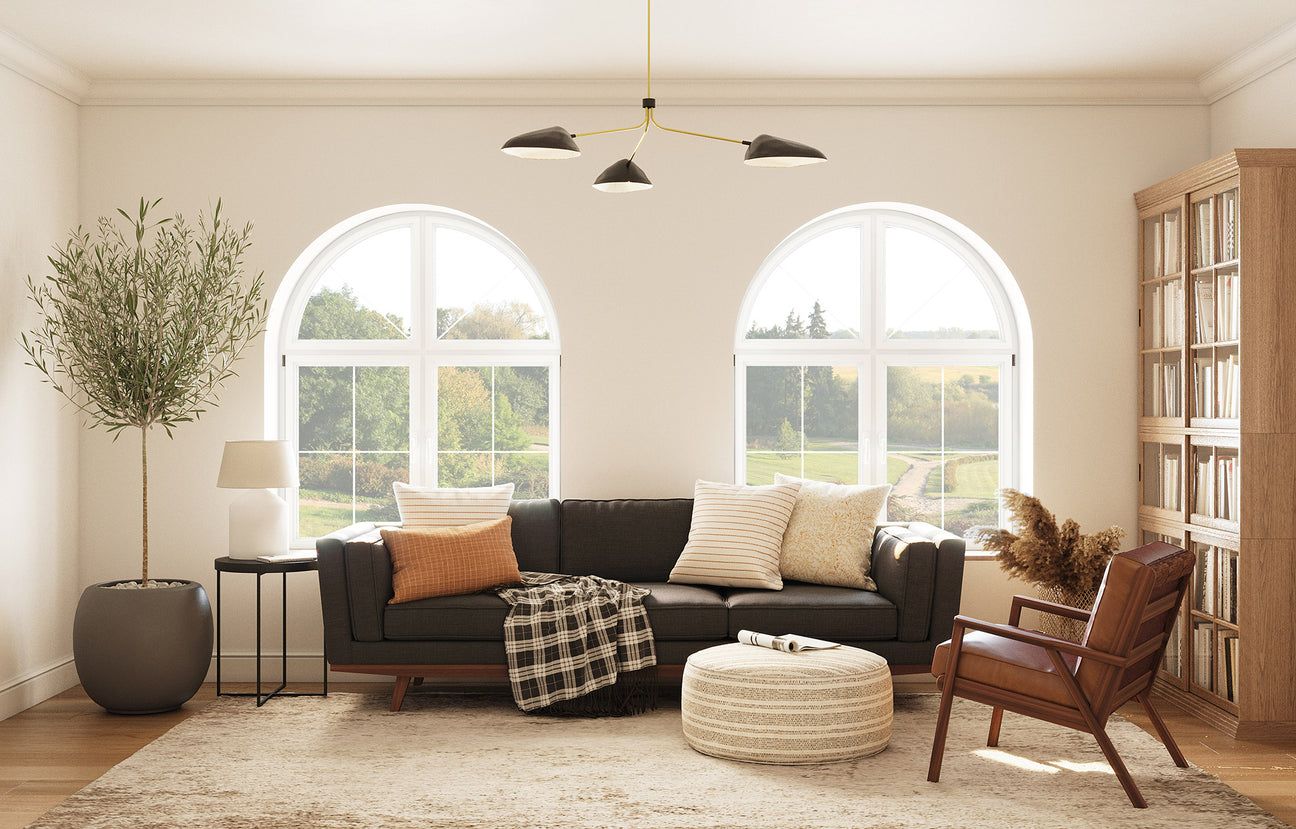
Biophilic Design for Urban Apartments: Bringing Nature Indoors
Let’s face it—city living often means trading greenery for concrete. But what if your apartment could feel like a quiet forest glade? That’s where biophilic design comes in. It’s not…
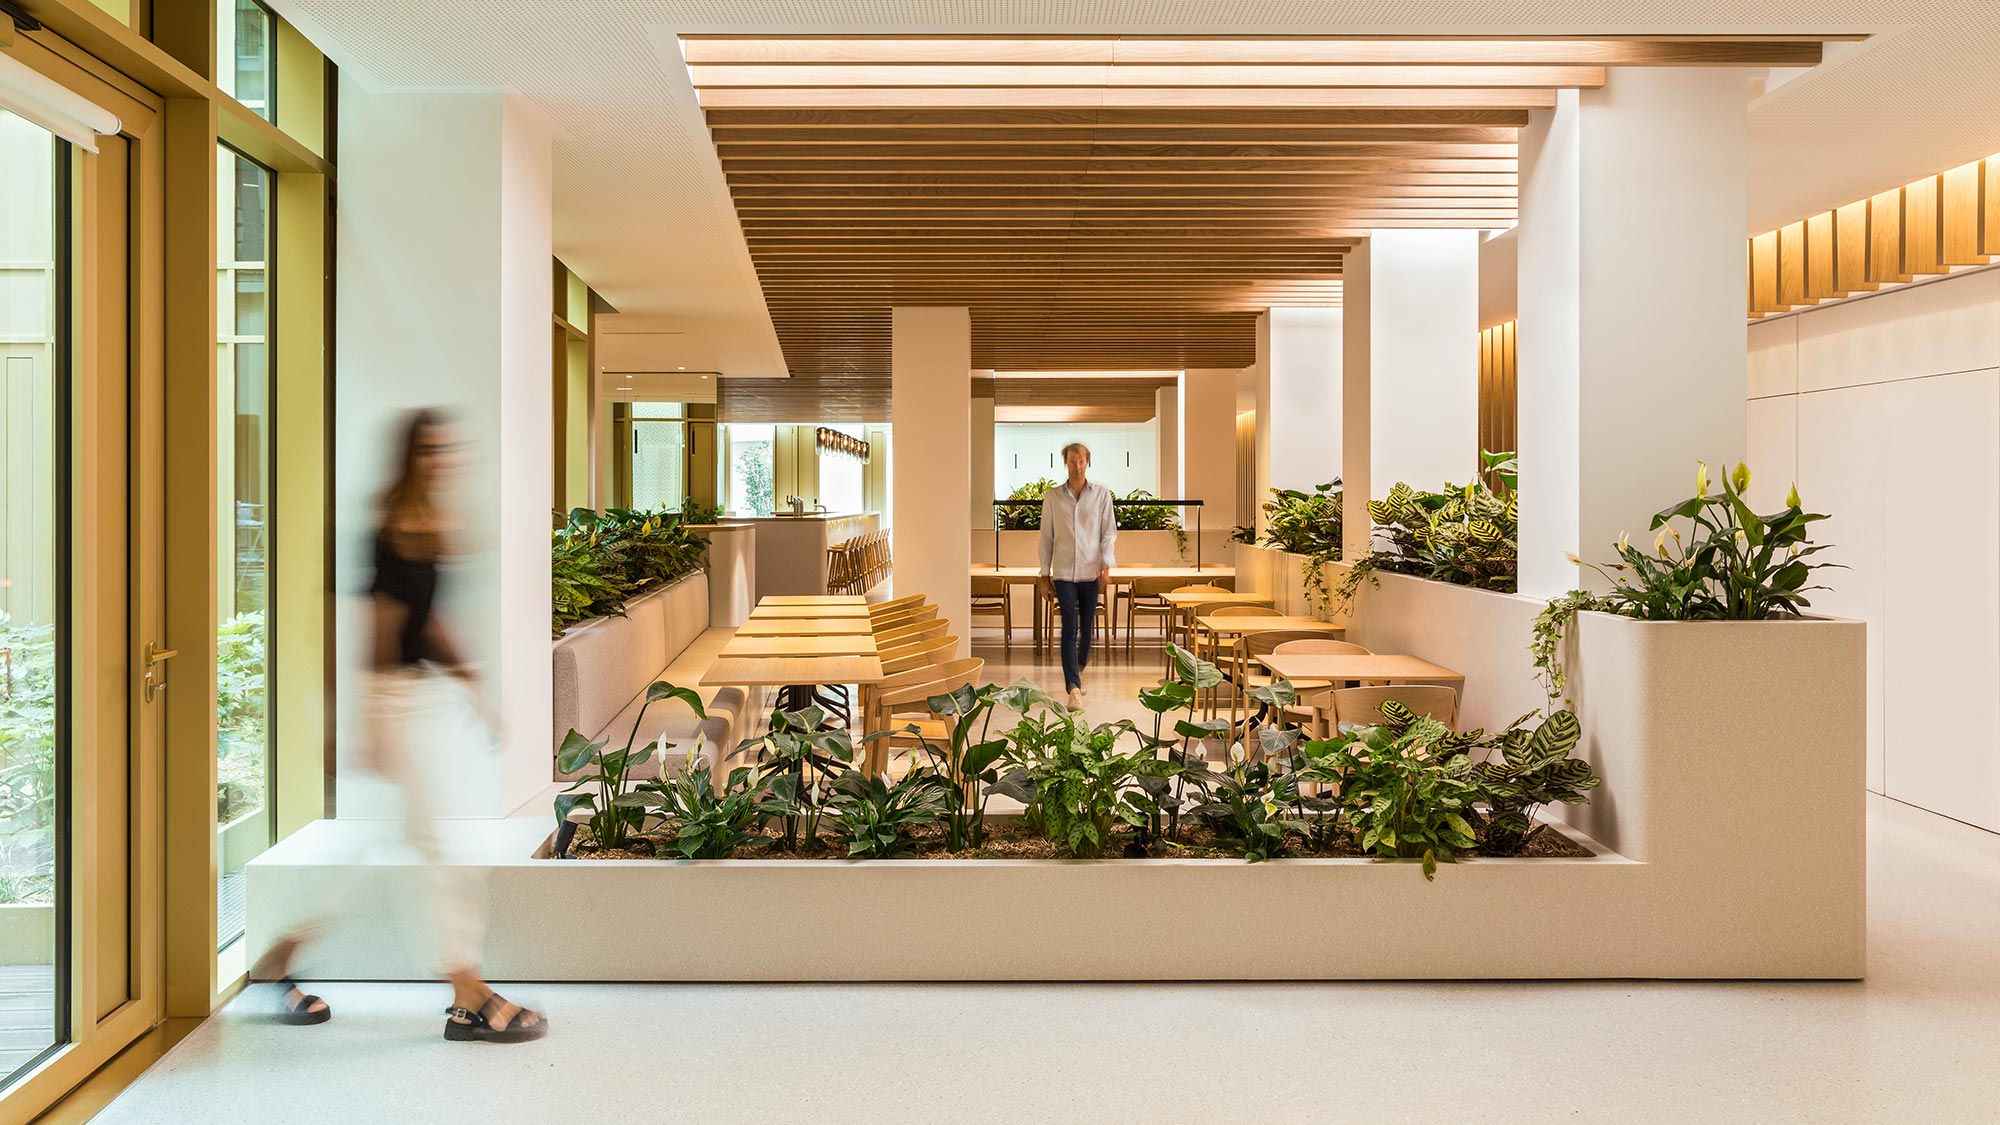
Biophilic Design for Urban Apartments: Bringing Nature Indoors
City living has its perks—convenience, culture, endless takeout options. But let’s be honest: concrete jungles can leave us craving greenery. That’s where biophilic design comes in. It’s not just about…
Biophilic Design for Urban Apartments: Bringing Nature Indoors
City living has its perks—convenience, culture, endless takeout options. But let’s be honest: concrete jungles can feel… well, barren. That’s where biophilic design swoops in—a way to weave nature into…

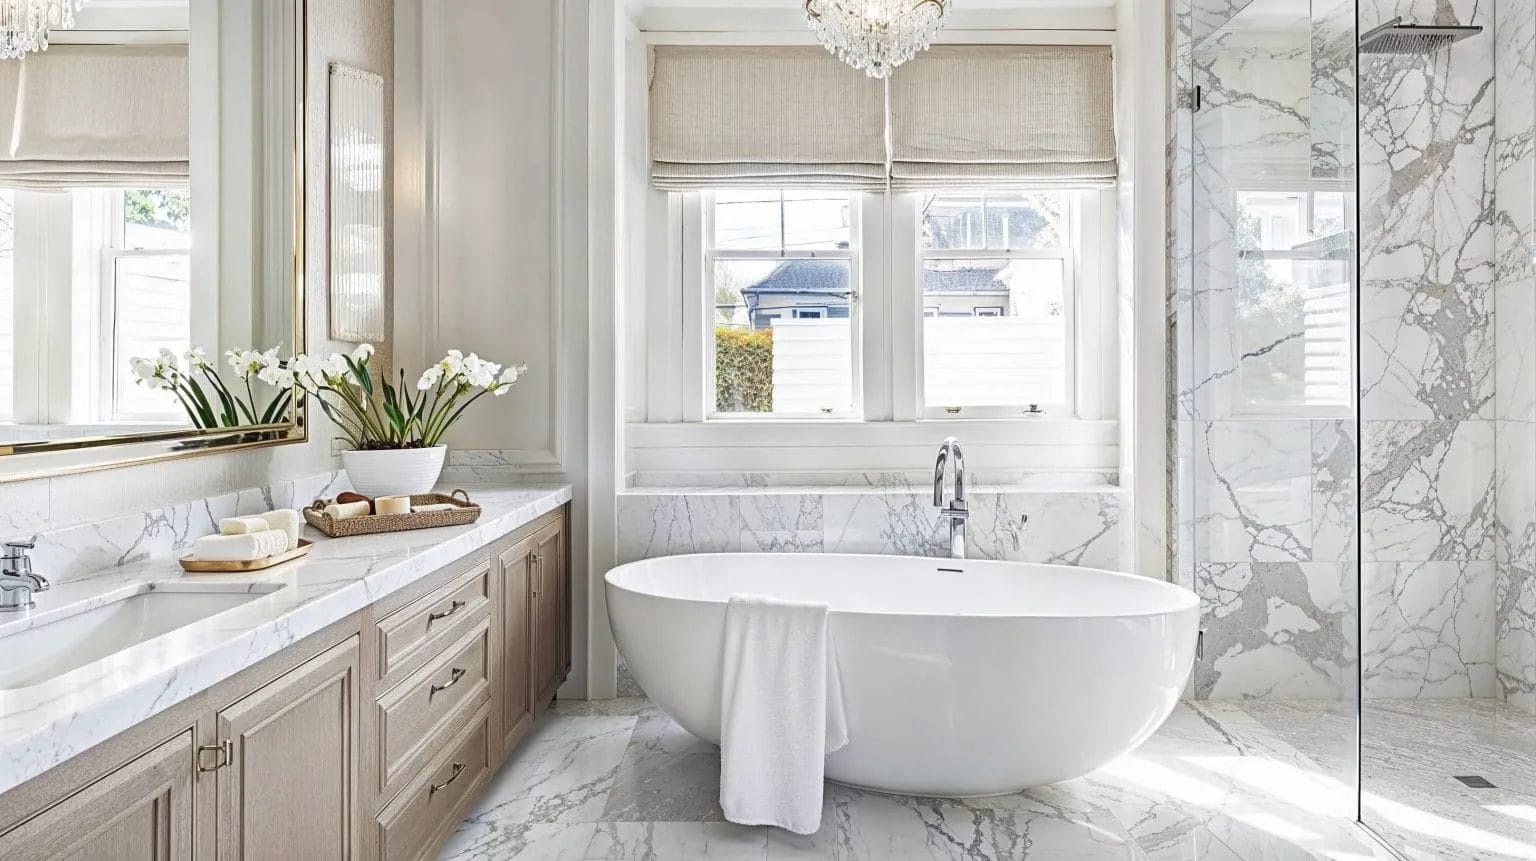
Sustainable and Eco-Friendly Home Design Materials: Building a Greener Future
Let’s face it—our homes should be sanctuaries, not just for us, but for the planet too. With climate change knocking at the door, more homeowners are swapping out traditional materials…

How to Care for Old Wood Floors?
Old wood floors hold a timeless charm that new materials can rarely match. Their imperfections, patina, and subtle marks tell stories of generations that have walked across them. Yet, with…
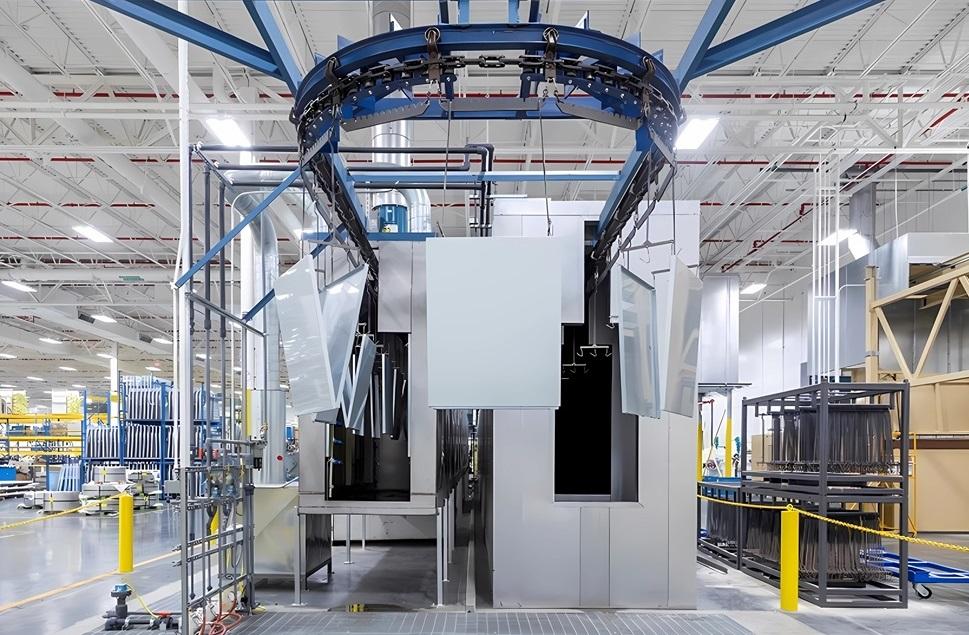
Clues Your Current Setup Needs New Powder Coating Equipment
Over time, even reliable systems start showing subtle signs of decline—uneven color, slower production, and higher maintenance costs. Identifying these clues early can save operations from costly downtime and ensure…

3 Things a Window Tinting Franchise Will Do to Make Your Home a Healthier Living Space
Your home is supposed to be your safe space. But sometimes, it doesn’t feel that way. Maybe you’ve been sneezing nonstop, and you can’t quite put your finger on why.…

Essential Tips for Choosing and Maintaining Your Home’s Water Heater
Key Takeaways Learn how to select the right water heater for your home based on efficiency and needs. Discover maintenance tips that can prolong your water heater's lifespan. Understand common…

Innovative Landscaping Solutions with Artificial Grass
Key Takeaways Artificial grass offers a sustainable and low-maintenance alternative for homeowners and businesses alike. Key benefits include water conservation, durability, and aesthetic appeal. Understanding the installation process and maintenance…

Exploring Native Plant Species for Local Landscaping
Landscaping is more than just creating an aesthetically pleasing environment; it’s about crafting sustainable ecosystems that thrive with minimal intervention. One of the most effective ways to achieve this is…

The Best Expandable Garden Hose
Maintain yard neat and clutter-free with a hose extension! These lightweight models save time when you finish the yard work and save on storage space.These inflatable tubes expand to the…
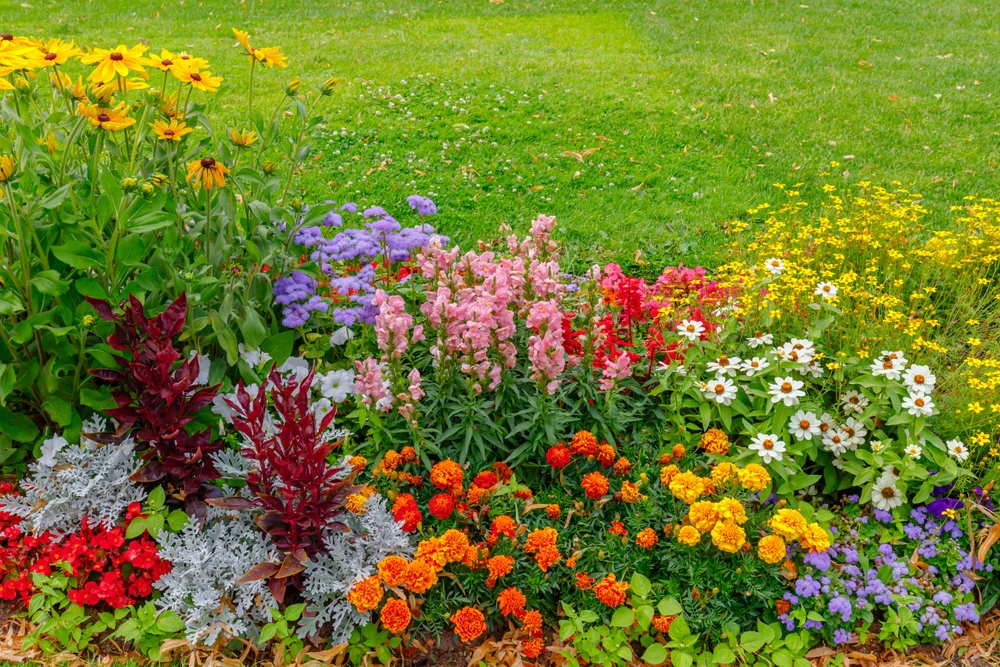
Creating a Beautiful Flower Garden: Design Tips and Inspiration
Creating a beautiful and functional flower garden involves mastering several fundamental design principles. Start by considering the garden's purpose—whether it's for relaxation, entertaining, or attracting wildlife. Practical layout and color…

The Best Furniture Trends to Transform Your Home in 2025
Ever walked into a room and felt like something was missing? The right furniture can turn any space from drab to fab faster than you can say "interior design." With…
Top 10 Sustainable Furniture Brands for Eco-Conscious Homes
As you shop for new furniture or seek to update your home, it's essential to remember sustainability when selecting options. When searching, look for pieces made of organic or Fair…

10 Stunning Garden Furniture Ideas to Elevate Your Outdoor Space
Create a relaxing and stylish outdoor oasis by adding tropical charm with furniture made of rattan or cane. Or bring modern style into the garden with this chair-and-ottoman combo which…

Choosing the Right Style of Bedroom Furniture
Your choice of bedroom furniture reveals your individuality and creates an ambiance in the room. Some people opt for modern decor in their living area while preferring classic decor for…
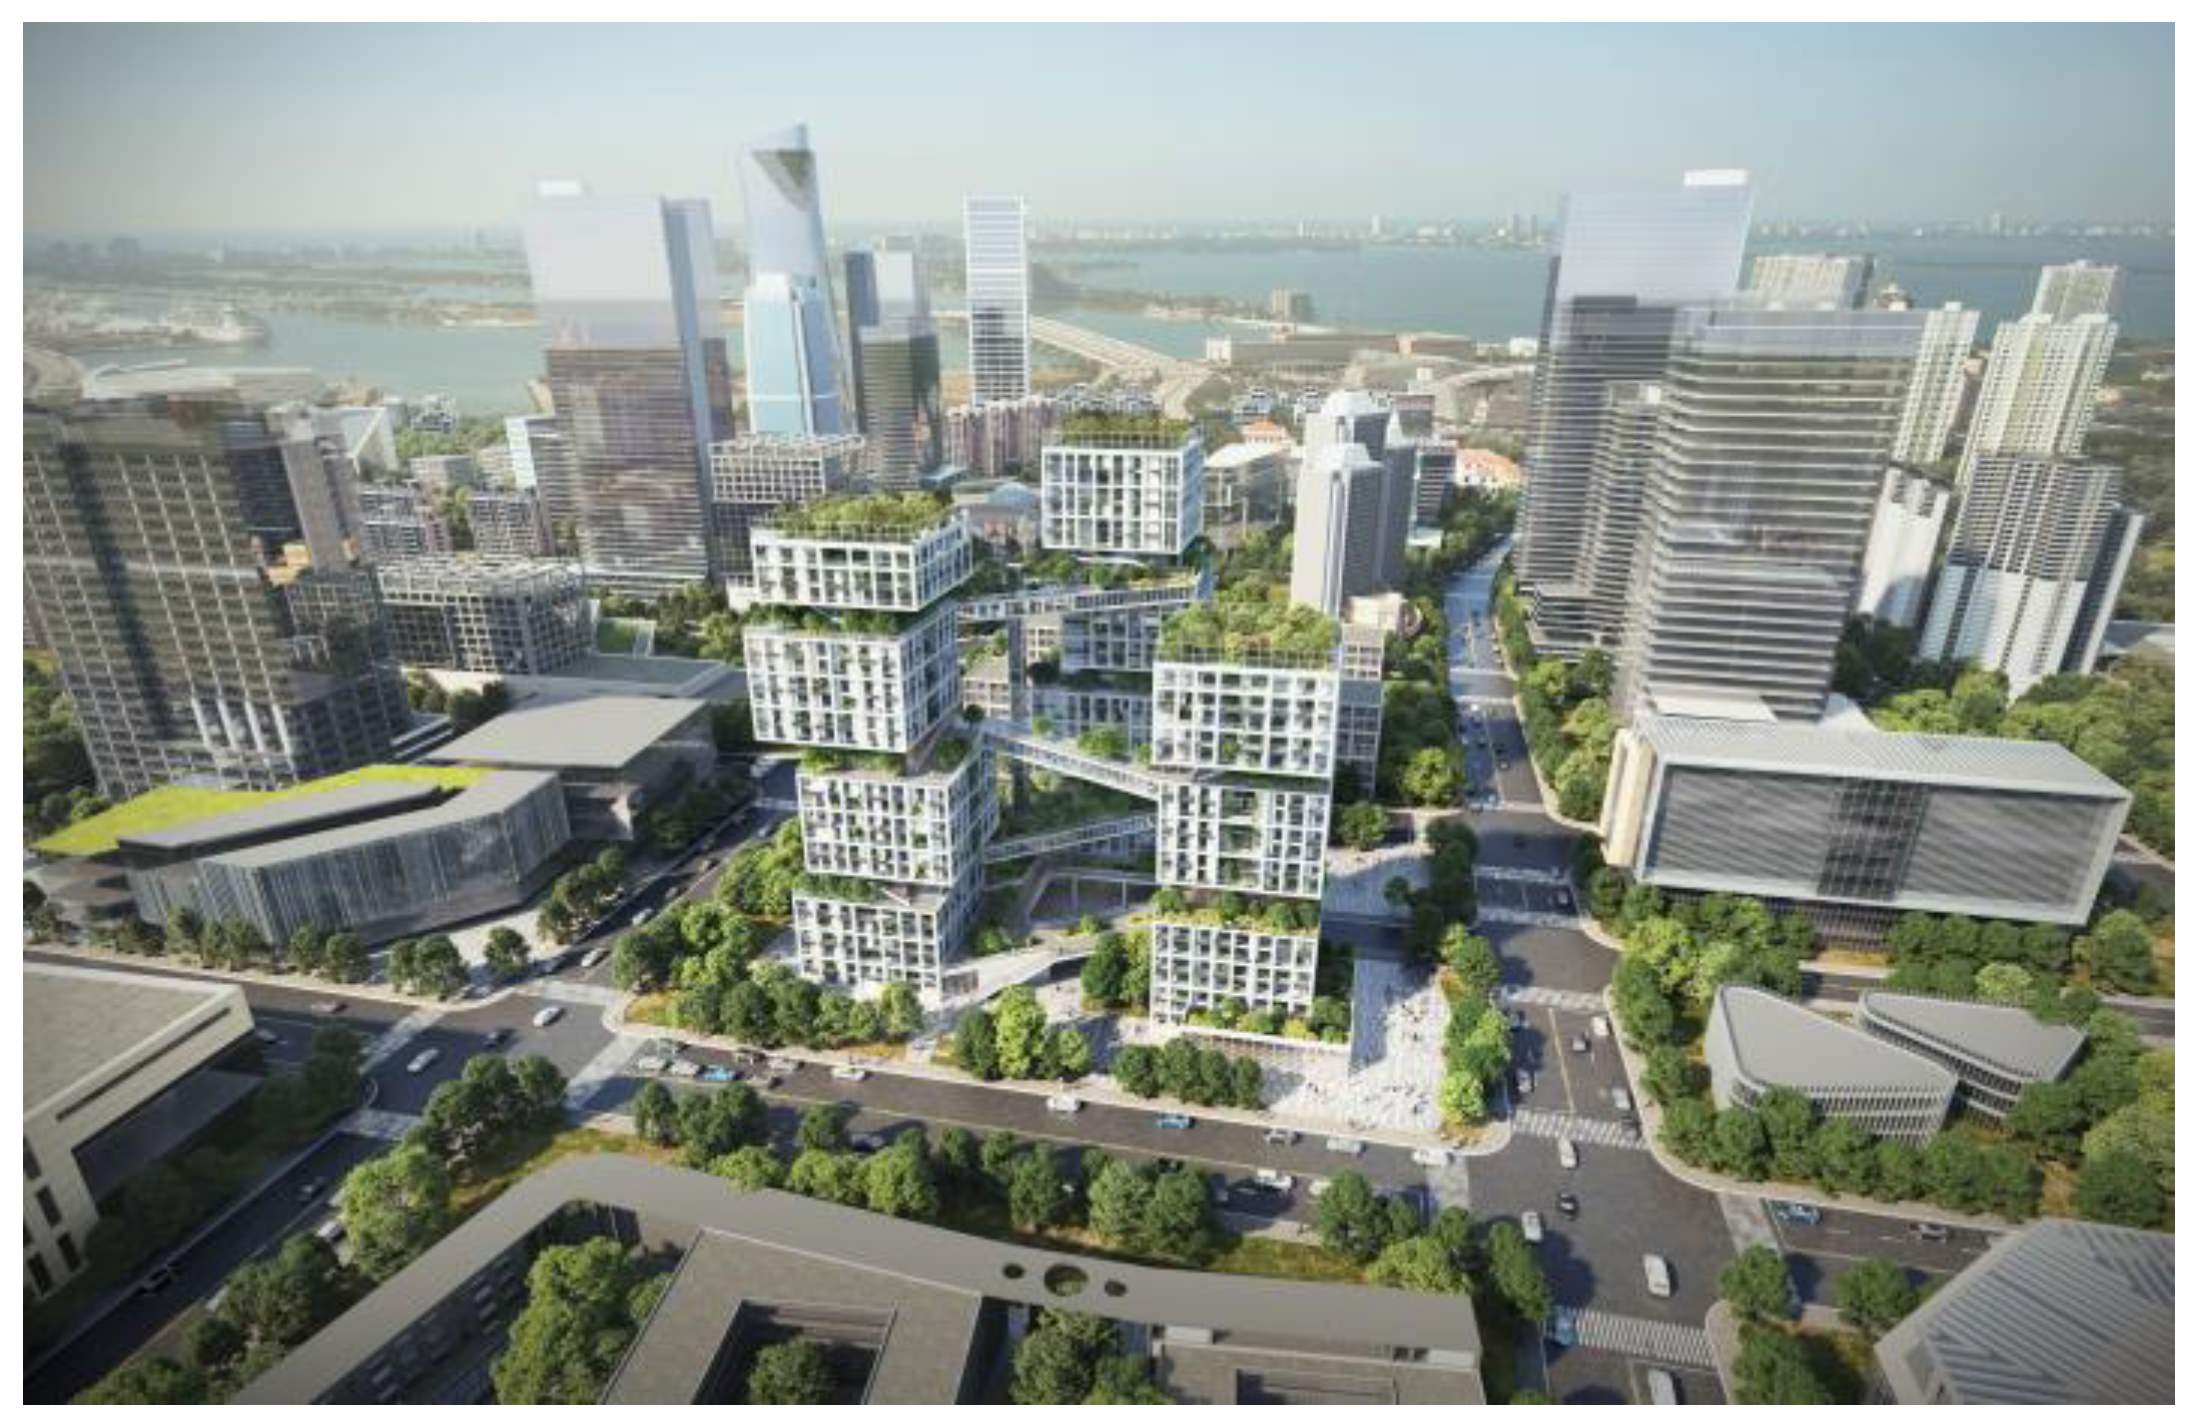
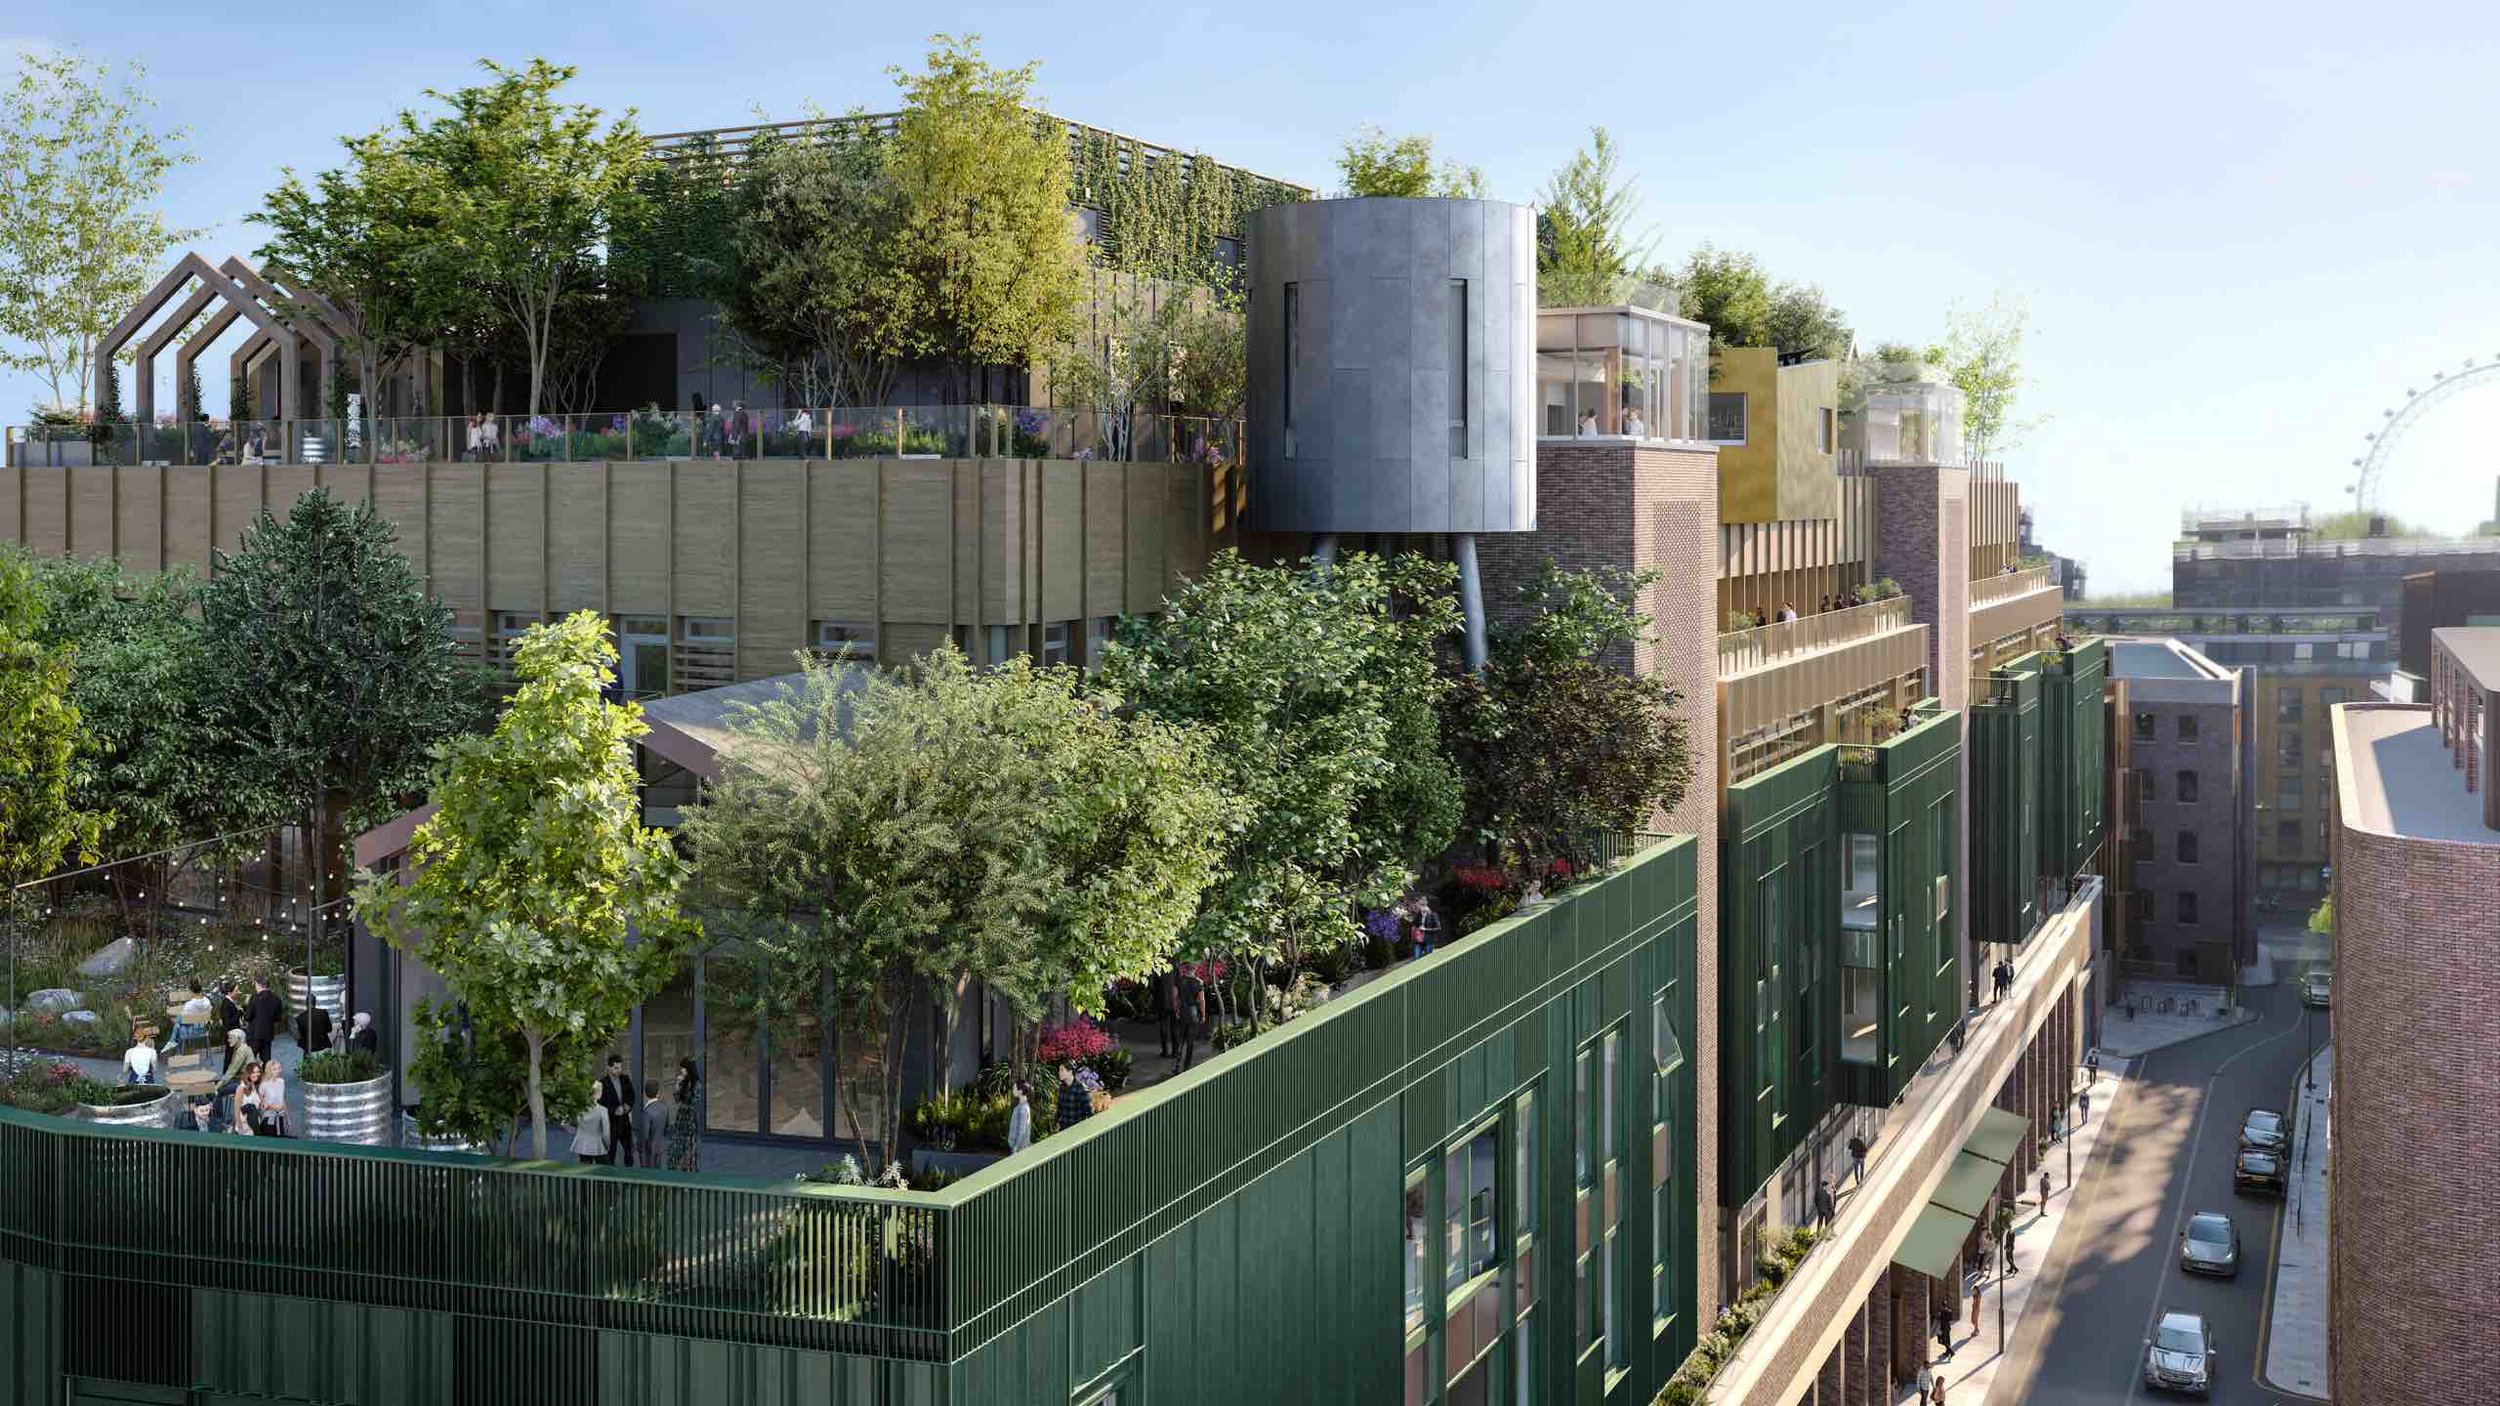
The Rise of Co-Living Spaces and Their Impact on Urban Real Estate Markets
Let’s be honest—city living isn’t getting any cheaper. Rent prices are soaring, and for many, the dream of owning a home feels like a distant fantasy. Enter co-living spaces: the…
Sustainable and Eco-Friendly Home Features Gaining Popularity in 2025
Let’s be honest—2025 isn’t just about sleek tech or minimalist decor. It’s about homes that work with the planet, not against it. From solar roofs that practically pay for themselves…
Sustainable and Eco-Friendly Home Features Gaining Popularity in 2025
Let’s face it—climate change isn’t going anywhere. And honestly? Neither are we. That’s why homeowners in 2025 are doubling down on sustainable living, blending cutting-edge tech with old-school common sense.…

Biggest Reasons People Regret Not Buying Guntersville AL Lakefront Property
Some decisions seem small at the time but turn into lifelong regrets. Choosing not to invest in lakefront property in Guntersville, AL, is one of those choices many people look back…
Ads

How to Care for Old Wood Floors?
Old wood floors hold a timeless charm that new materials can rarely match. Their imperfections, patina, and subtle marks tell stories of generations that have walked across them. Yet, with…
Clues Your Current Setup Needs New Powder Coating Equipment
Over time, even reliable systems start showing subtle signs of decline—uneven color, slower production, and higher maintenance costs. Identifying these clues early can save operations from costly downtime and ensure…
3 Things a Window Tinting Franchise Will Do to Make Your Home a Healthier Living Space
Your home is supposed to be your safe space. But sometimes, it doesn’t feel that way. Maybe you’ve been sneezing nonstop, and you can’t quite put your finger on why.…
The Rise of Co-Living Spaces and Their Impact on Urban Real Estate Markets
Let’s be honest—city living isn’t getting any cheaper. Rent prices are soaring, and for many, the dream of owning a home feels like a distant fantasy. Enter co-living spaces: the…
How to Care for Old Wood Floors?
Old wood floors hold a timeless charm that new materials can rarely match. Their imperfections, patina, and subtle marks tell stories of generations that have walked across them. Yet, with…
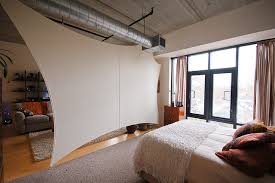
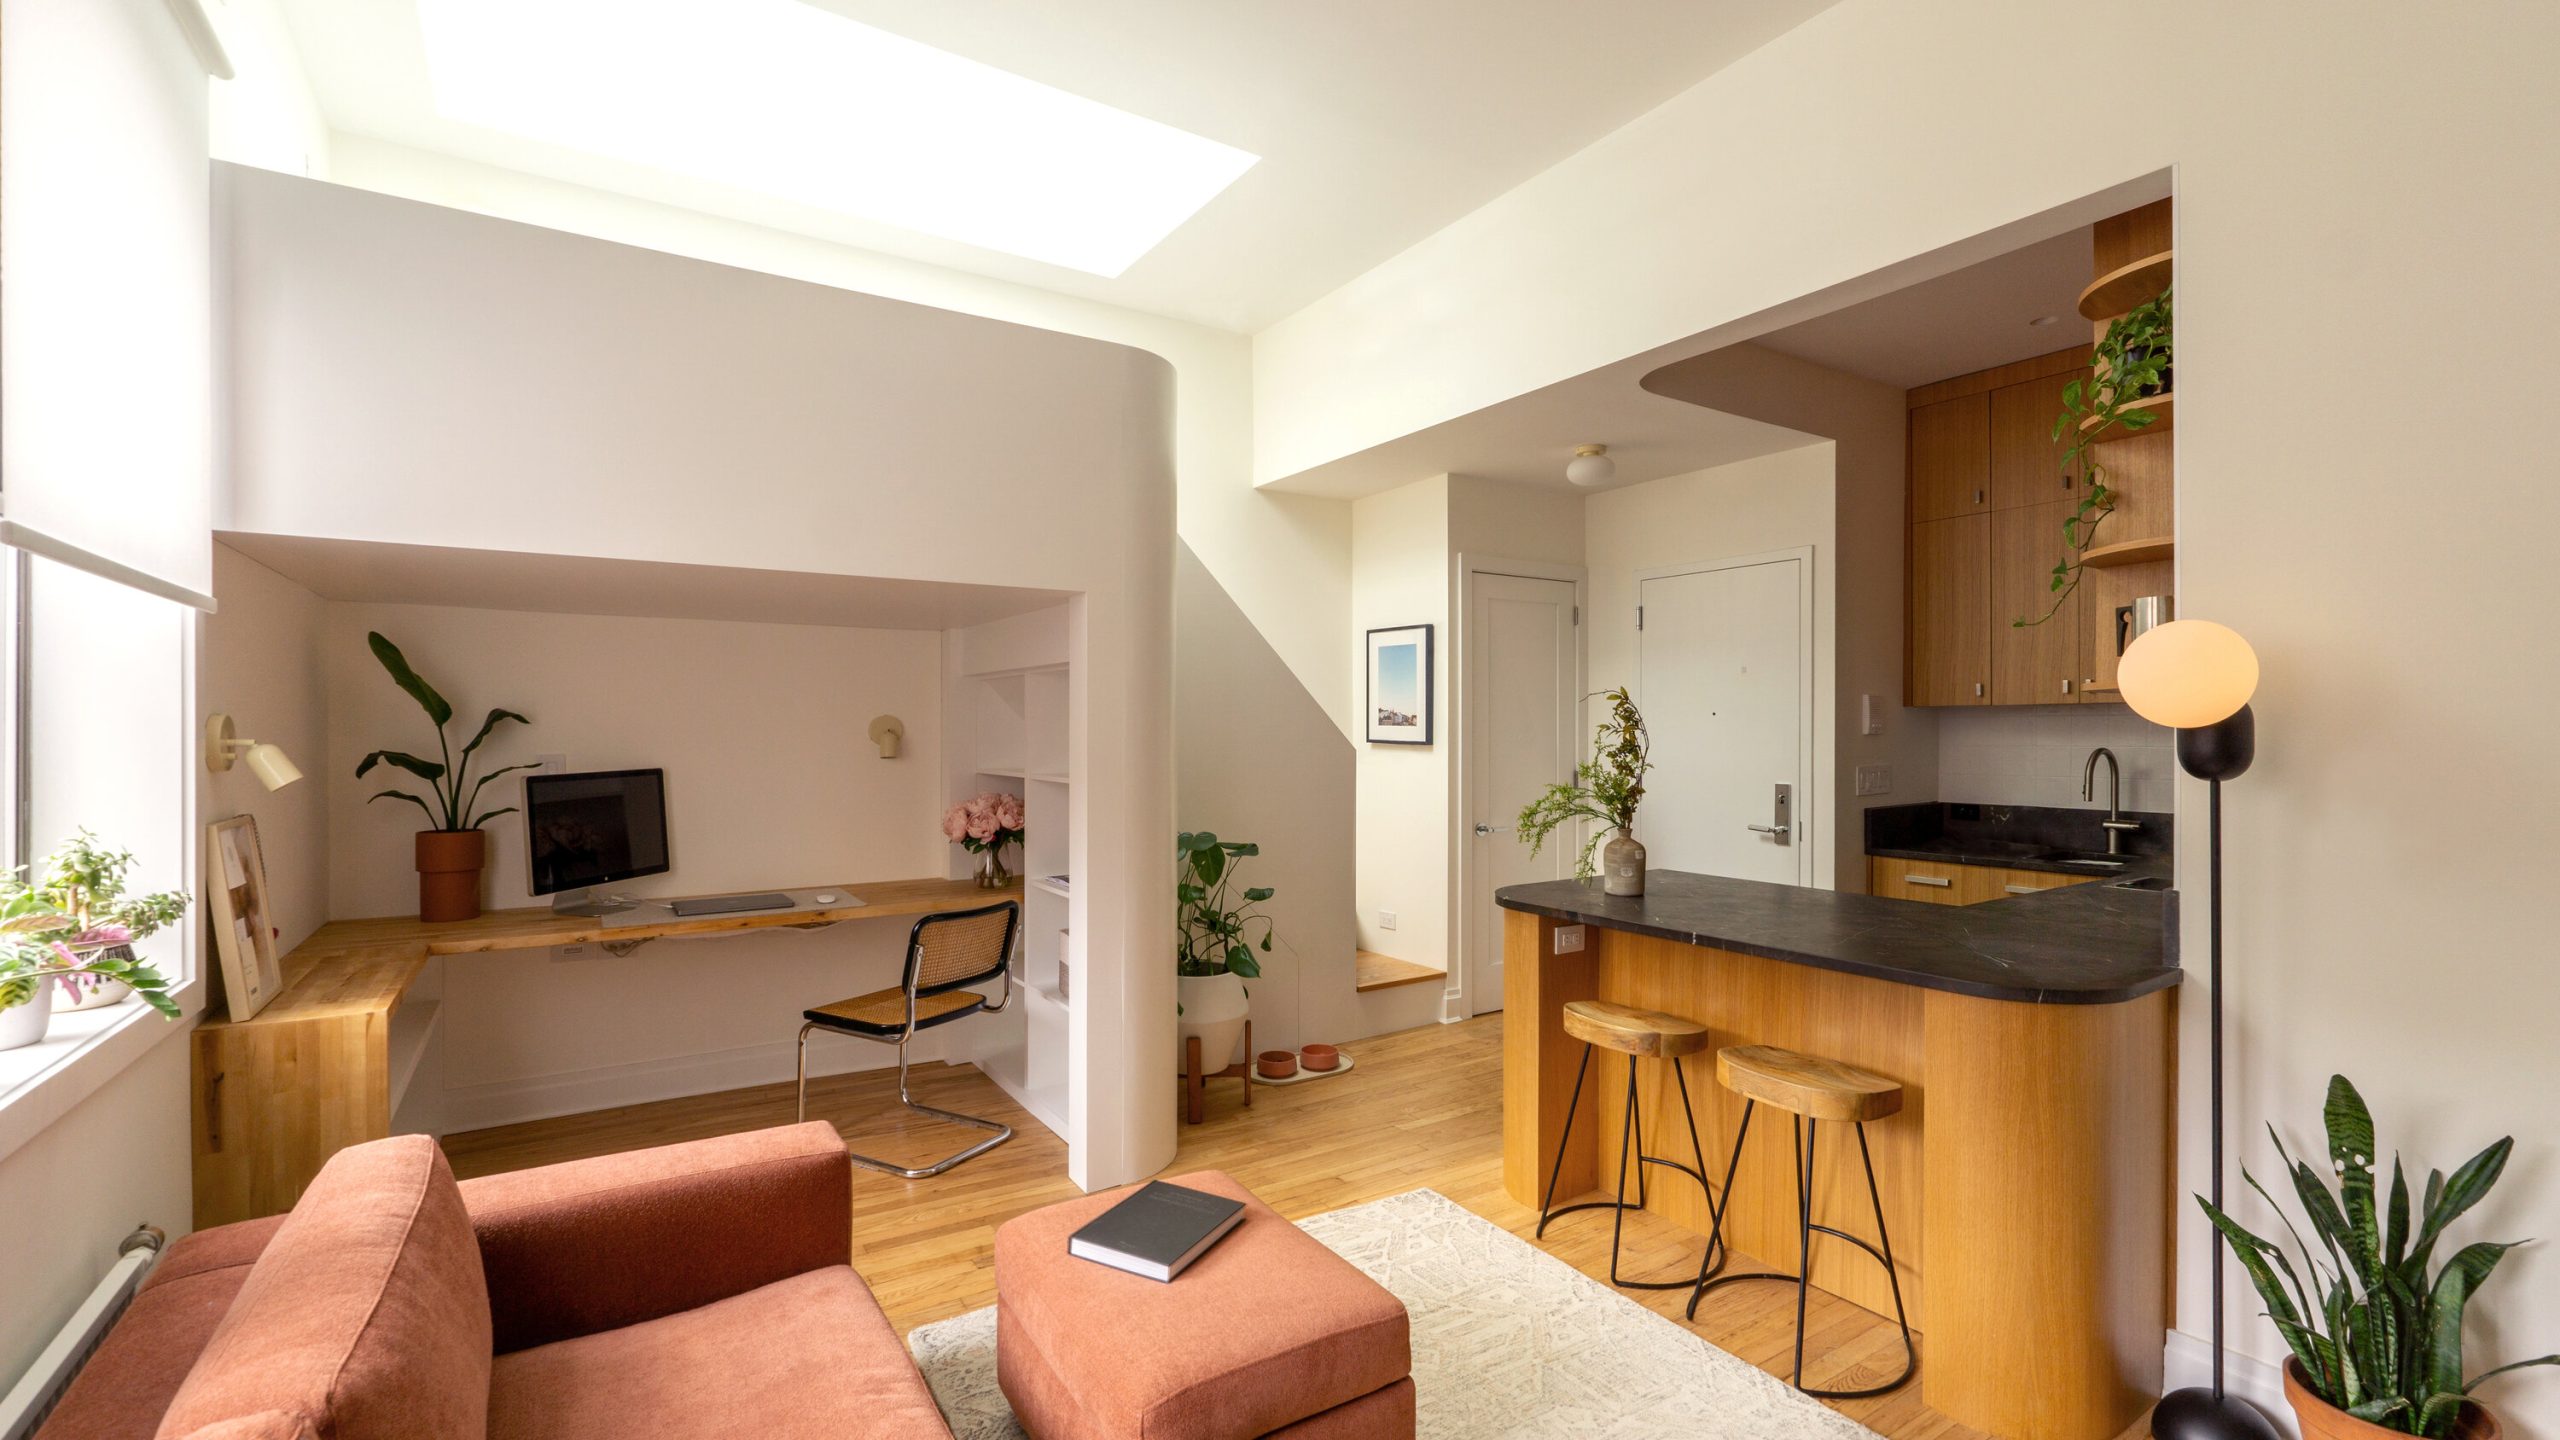
Amazing Loft Designs that inspire!
There was a time when loft position style residing was for the chic or city elite. Old structures would discover new lifestyle as an artist’s living/work position or a entrepreneur…
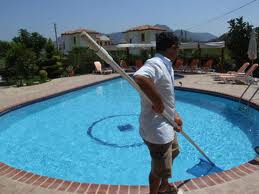
7 Easy Pool Maintenance Tips
Having your own share is just great, but there is the disadvantage that it has to be taken proper good care of. Private diving pools vary and have different servicing…
Information on a profession throughout Architecture Design
If you are searching for a job in neuro-scientific framework, you can analyze out there tasks in new design. Employment as a possible design designer is particularly excellent for everyone…
Best Flooring for You
Flooring surfaces is a aspect of a home that needs to be designed well. Most…
Amazing Loft Designs that inspire!
There was a time when loft position style residing was for the chic or city…
7 Easy Pool Maintenance Tips
Having your own share is just great, but there is the disadvantage that it has…